Master the Art of Sourdough Baking with These Simple Tips
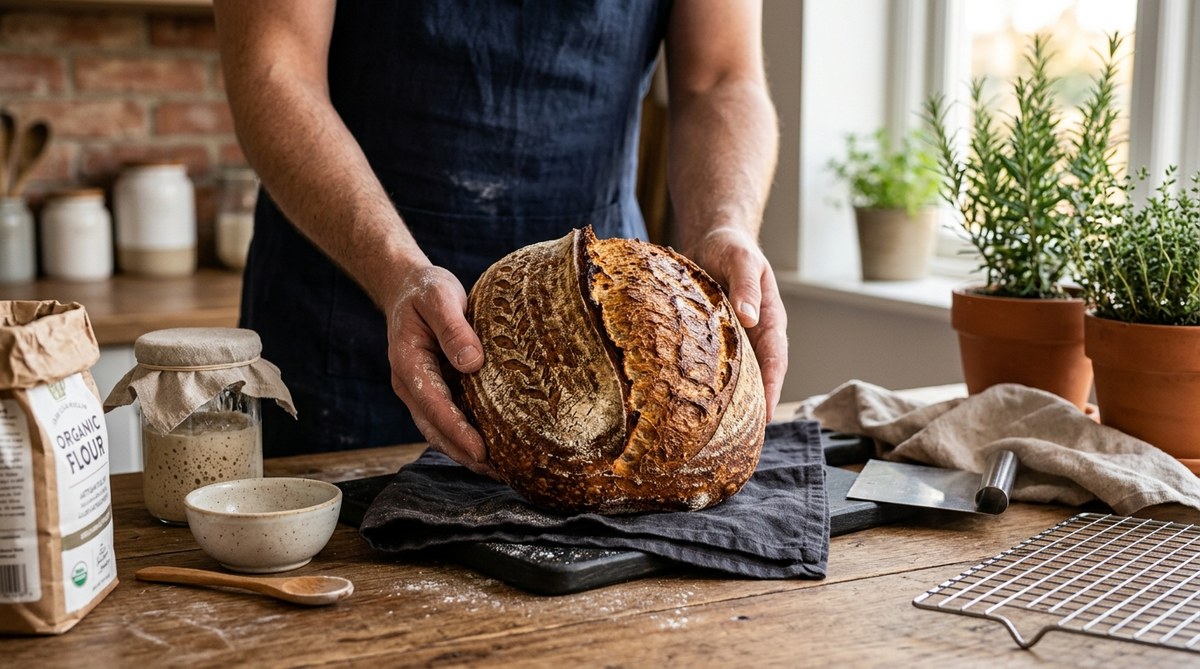
Getting started with sourdough bread can feel overwhelming. The good news is that with a few straightforward tips, you can turn your kitchen into a bread-making haven. Sourdough baking is less about perfection and more about patience and practice. Once you understand the basic principles, you’ll enjoy the process and end up with delicious, crusty loaves that rival bakery quality.
Mastering sourdough baking starts with understanding the starter, hydration, and shaping. Consistency and patience are your best allies. With simple adjustments, you’ll improve your bread each time and enjoy the rewarding process of home baking.
Understanding the basics of sourdough baking
Before diving into techniques, it helps to grasp what makes sourdough unique. Unlike yeast-based bread, sourdough relies on a natural starter filled with wild yeasts and bacteria. This starter ferments flour and water, creating the leavening power and tangy flavor. The process involves a few key steps that, when done correctly, yield a loaf with a crisp crust and tender crumb.
Building a reliable sourdough starter
A healthy starter is the backbone of good sourdough. Here are simple steps to get yours going:
- Mix equal parts flour and water in a jar.
- Cover loosely and leave at room temperature.
- Feed it daily with fresh flour and water.
- Observe bubbles forming and a pleasant, tangy smell. That’s when it’s ready to use.
Remember, a mature starter can take about a week, but patience pays off. A well-maintained starter can be kept alive indefinitely with regular feedings. For beginners, it’s helpful to start with a small amount and observe how it develops over time.
Key sourdough baking tips for beginners
1. Focus on hydration levels
Hydration refers to the water-to-flour ratio in your dough. A common starting point is around 70 percent, meaning for every 100 grams of flour, use 70 grams of water. Higher hydration makes the bread more open and airy but can be trickier to handle. Adjust hydration based on your experience, climate, and flour type. Remember, wetter dough often produces better crumb but requires a gentle touch.
2. Master the autolyse process
Autolyse is simply mixing flour and water and letting it rest before adding salt and starter. This step improves gluten development and hydration, resulting in a stronger dough that shapes easily. Let your mixture sit for at least 30 minutes. This simple step can significantly boost your bread’s texture.
3. Use stretch and fold techniques
Instead of traditional kneading, stretch and folds are gentle, effective, and beginner-friendly. During bulk fermentation, every 30 minutes, stretch the dough by pulling a portion upward and folding it over itself. Repeat this a few times. This technique strengthens gluten and creates a better structure without overworking the dough.
4. Shape with care
Proper shaping gives your loaf a good rise and attractive appearance. Gently pull the dough into a round shape, creating surface tension by tightening the outer skin. Use a banneton basket or a bowl lined with a floured towel to proof. This step defines your loaf’s final look and helps it hold shape during baking.
5. Pay attention to baking temperature and steam
Preheat your oven with a Dutch oven or baking stone inside. Baking at a high temperature, around 450 to 500°F, ensures a crispy crust. Adding steam during the first part of baking keeps the crust soft enough for expansion. You can place a pan of water in the oven or spritz water inside before baking. This creates the ideal environment for a bakery-quality crust.
Common pitfalls and how to avoid them
| Technique | Mistake | How to fix it |
|---|---|---|
| Underfermentation | Bread doesn’t rise enough | Extend bulk fermentation or warm your dough slightly. |
| Overhydration | Dough becomes unmanageable | Reduce water slightly or handle with wet hands. |
| Poor shaping | Dense or misshapen loaf | Practice pulling tight surface tension and use a proofing basket. |
| Insufficient heat | Pale crust or underbaked interior | Use a preheated baking vessel and ensure oven temperature is high enough. |
| Not scoring | Bread cracks unpredictably | Use a sharp blade and score just before baking for controlled expansion. |
“The secret to great sourdough is consistency. Even if your first loaves aren’t perfect, each bake teaches you something new. Over time, your skills will improve, and so will your bread.” — Baking expert Lisa
Practical processes for perfect sourdough at home
- Prepare your starter a day before baking, ensuring it is bubbly and active.
- Mix your dough with autolyse, incorporating water and flour first.
- Let it ferment with stretch and folds every 30 minutes during the first few hours.
- Shape your loaf carefully, creating surface tension for a good rise.
- Bake with steam in a hot oven, aiming for a deep, golden crust and airy crumb.
Tips for better sourdough baking
- Keep notes of each bake to track what works best.
- Use quality flour for flavor and consistency.
- Maintain a warm, draft-free environment during fermentation.
- Don’t rush the process; patience results in better bread.
- Experiment with hydration and fermentation times to suit your taste.
A few common questions answered
- How long should a bulk ferment last? Usually between 4 to 6 hours at room temperature, but it depends on your dough’s activity.
- Is it okay to refrigerate the dough? Yes, overnight cold fermentation enhances flavor and makes shaping easier.
- How do I know when my loaf is baked? The crust should be deep golden, and the internal temperature should reach about 210°F.
Sourdough success for home bakers
By sticking to these simple tips, you’ll find yourself baking better bread with each attempt. Remember, sourdough baking is a journey. It’s about learning what your dough needs and adjusting accordingly. The more you practice, the more confident you’ll become.
Sourdough baking as a daily joy
Sourdough bread is more than just food. It’s a craft that connects you to centuries of tradition. As you grow more comfortable, you might even start experimenting with different flours, add-ins, or shaping styles. The key is to keep it simple and enjoy the process.
Happy baking! With these tips, you’ll turn your humble ingredients into bakery-worthy sourdough that fills your home with warmth and delicious aromas. Keep practicing, and soon sourdough will become your favorite weekend ritual.